 |
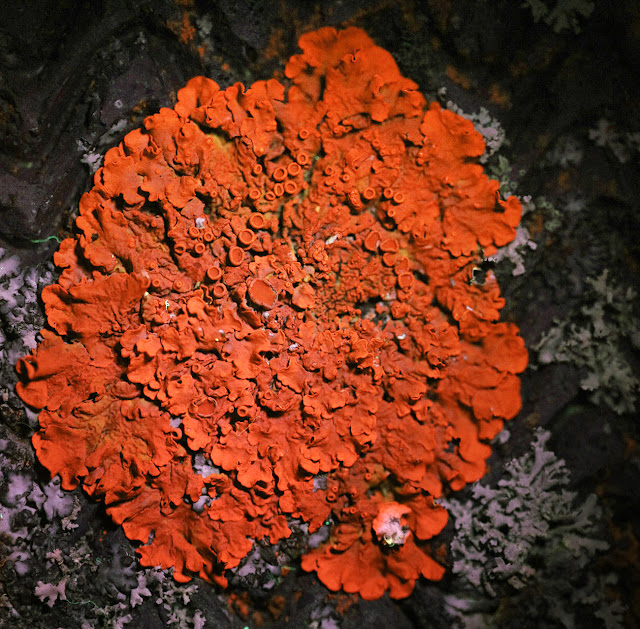
| Xanthoria parietina on a brick wall in Hayes by UV light. 21 January 2017. |
 |
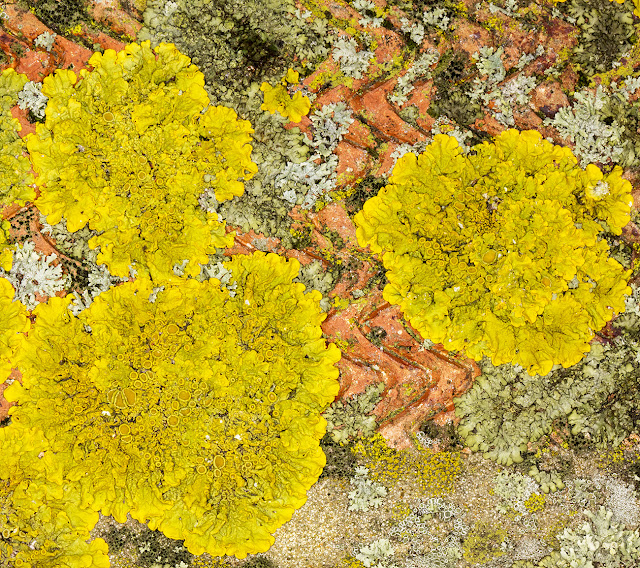
| Xanthoria parietina on a brick wall in Hayes in daylight. 22 January 2017. |
The UV photographs are interesting.
 |
| Lichen community on a brick wall. Left: daylight. Right: UV light. |
Looking at this, you might think that all the yellowy-orange lichens glow orange in the UV light, but that's not so - there is a patch towards the top right of a yellow species that doesn't respond to the torch. That's probably a Candellaria species, which in theory should have a slight glow, but there is none here. Another species that has not read the book, perhaps. The difference in glow is because there is more than one chemical that can give a lichen a yellow colour. So you can use this UV glow effect to help identify a lichen.
 |
| Lichen community on a brick wall. Left: daylight. Right: UV light. |
Lichens are various and complicated and I have only just scratched the surface (that's a joke if you are a lichenologist.)
=======================================================================
How to remove the mauve tint from photos of UV glow using a good camera and Photoshop:
First, photograph your UV torchlight on a white background in a dark place. Use this photo as the basis for a custom white balance setting.
Then photograph your subject at night, shading with your body from any street lighting and evening out the UV torchlight across the subject as much as you can. This can be tricky if you are holding everything in your hands.
Take a high quality JPEG from the camera and edit in Photoshop. Sample the mauve background colour cast from a light area with the eye dropper tool. Create a new empty layer and fill it with the sampled colour. Invert this layer's colour to get its opposite, which will be a green shade (Control-I does this). Make that layer a colour type layer. Adjust its opacity until there is as little mauve or green as possible in the resulting picture. You're done! But as you can see from my photos above, the result does vary a bit from shot to shot and no one photo should be accepted as definitive. There are variations in cameras' sensors and software, also the exact shades sampled in Photoshop, and computer monitors vary too.
No comments:
Post a Comment